Workday Studio is a tool that fetches data from Workday, including suppliers, workers, and imports. It is used to load data into Workday and fetch data from external APIs.
The schema explorer tab is used to explore these web services, and users can add the latest Workday web services and choose visible.
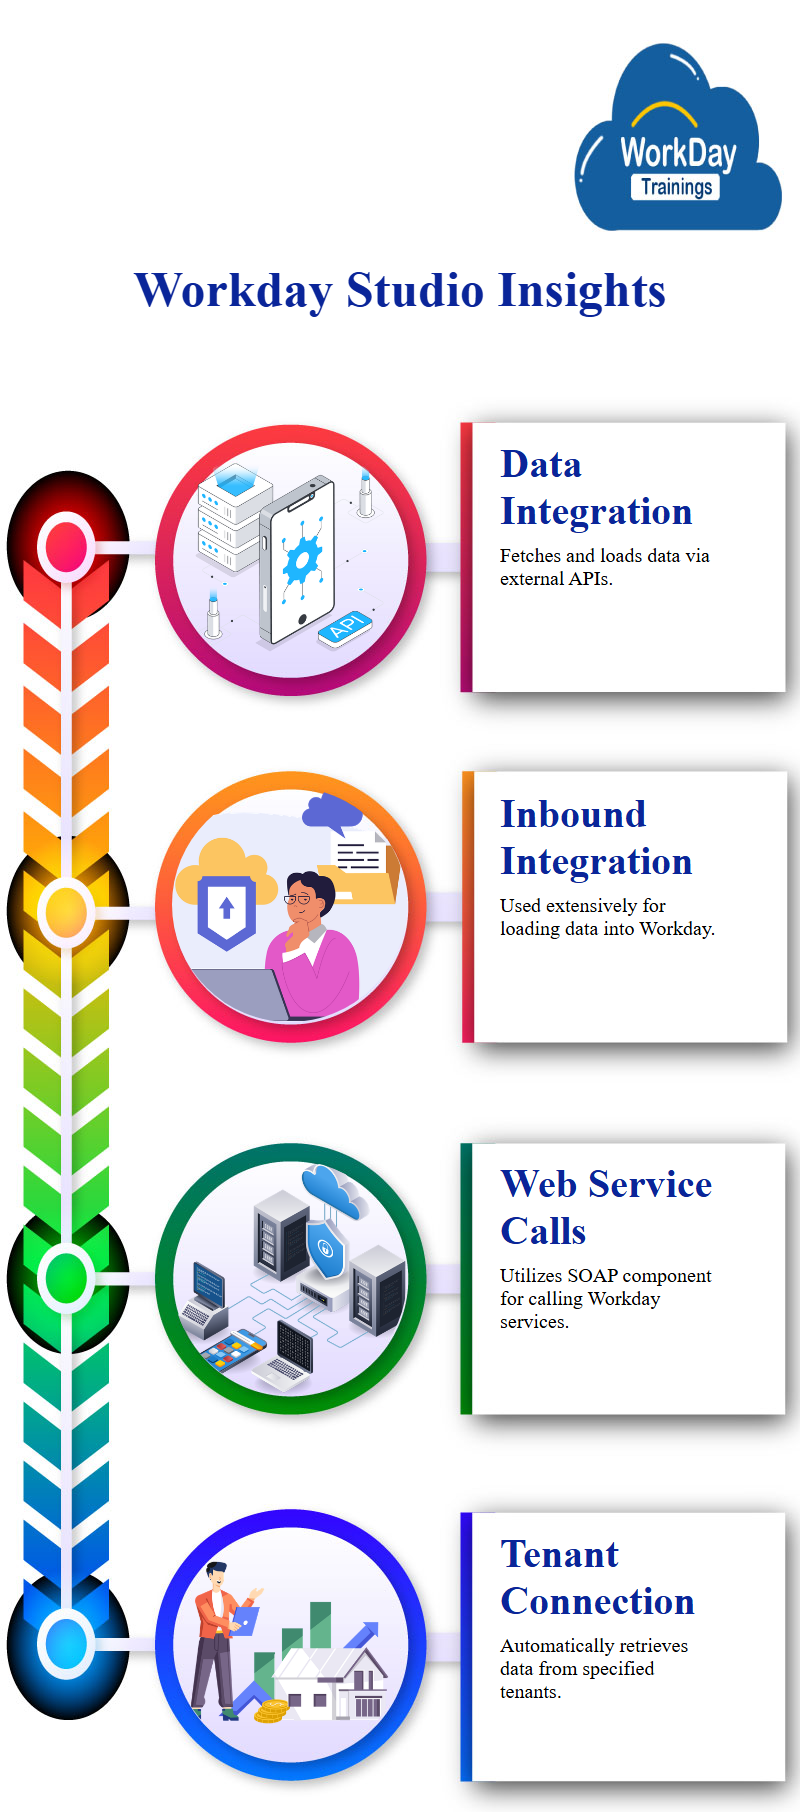
Workday Studio is predominantly used for inbound integration, which involves loading data into Workday.
The Workday Out SOAP component is critical for calling Workday web services. Workday Studio establishes a connection to a specific tenant via the cloud explorer, and upon code deployment, it automatically retrieves data from that tenant.
When external web services are used, users can call servers outside Workday.
Workday Studio is the primary component for calling Workday web services. It is extensively used for inbound integration, which involves loading data into Workday.
The tool features a dedicated section for interconnected applications. Upon code deployment, it automatically fetches data from the specified tenant.
What is Workday Studio Application?
Understanding the concept of the components in Workday Application Studio is crucial as it forms the foundation for using the tool effectively.
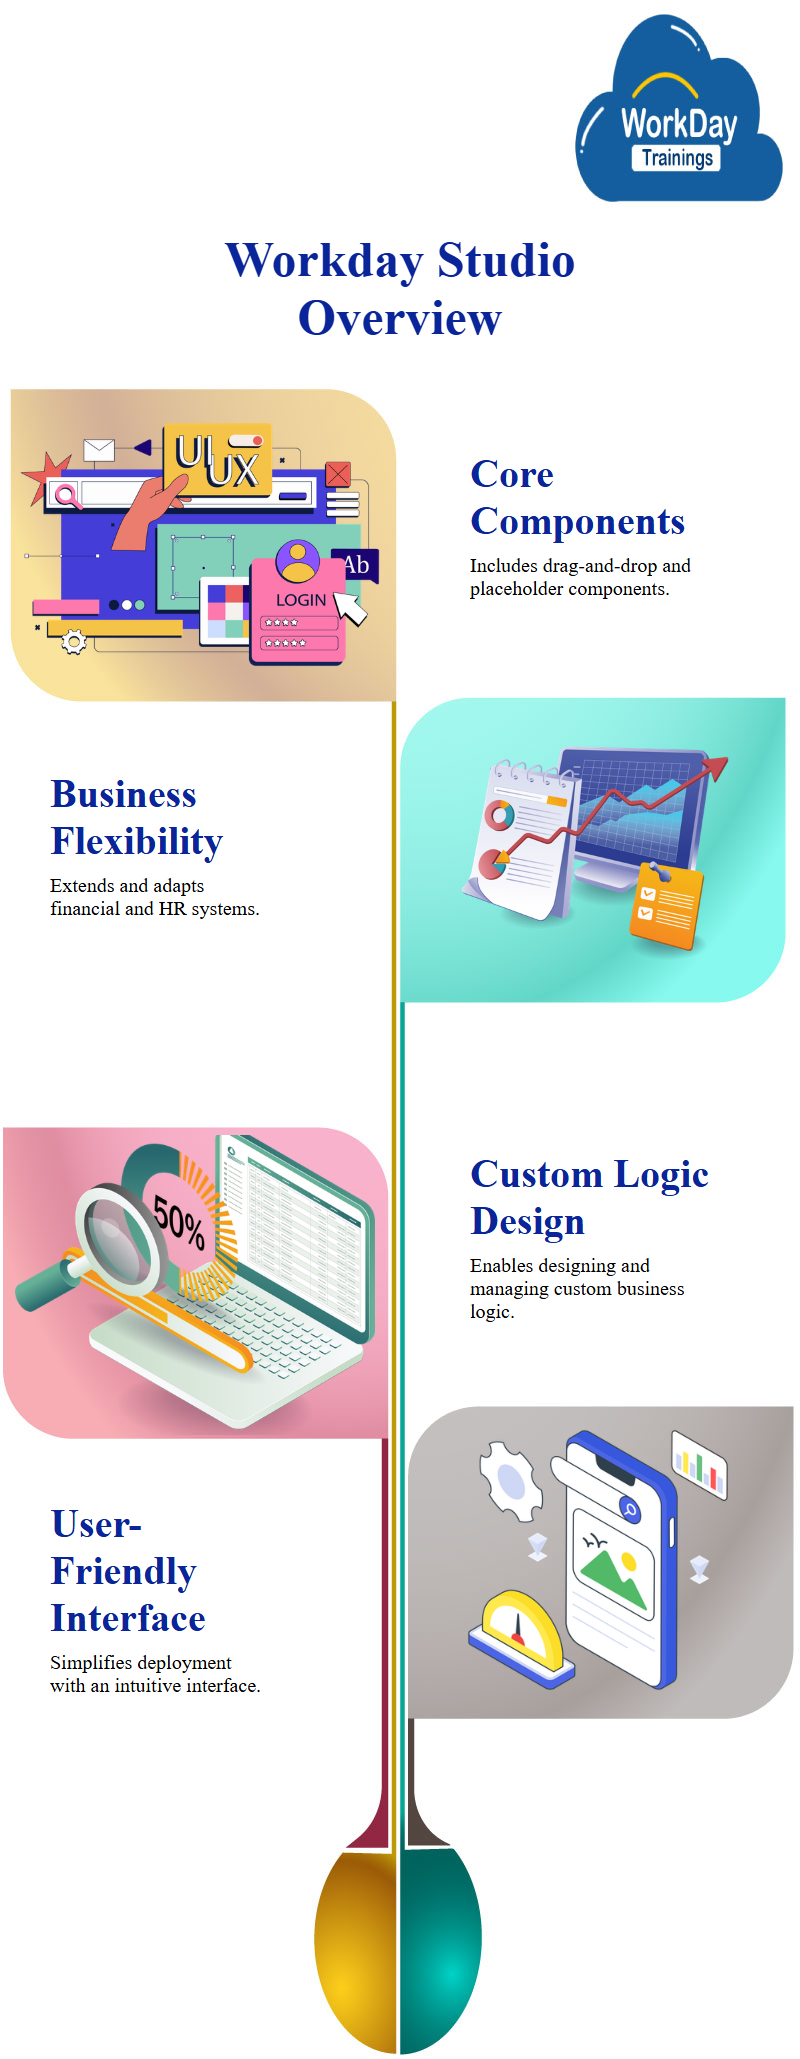
The journey begins with the logging component, the first type of component. There are two types of components: direct drag-and-drop components like FTP and HTTP and placeholder components like port integration messages.
Organisations may easily extend and change their Workday Financials and Human Capital Management systems using the Workday Studio classes application.
This application allows users to design, manage, and deploy custom business logic through a user-friendly interface.
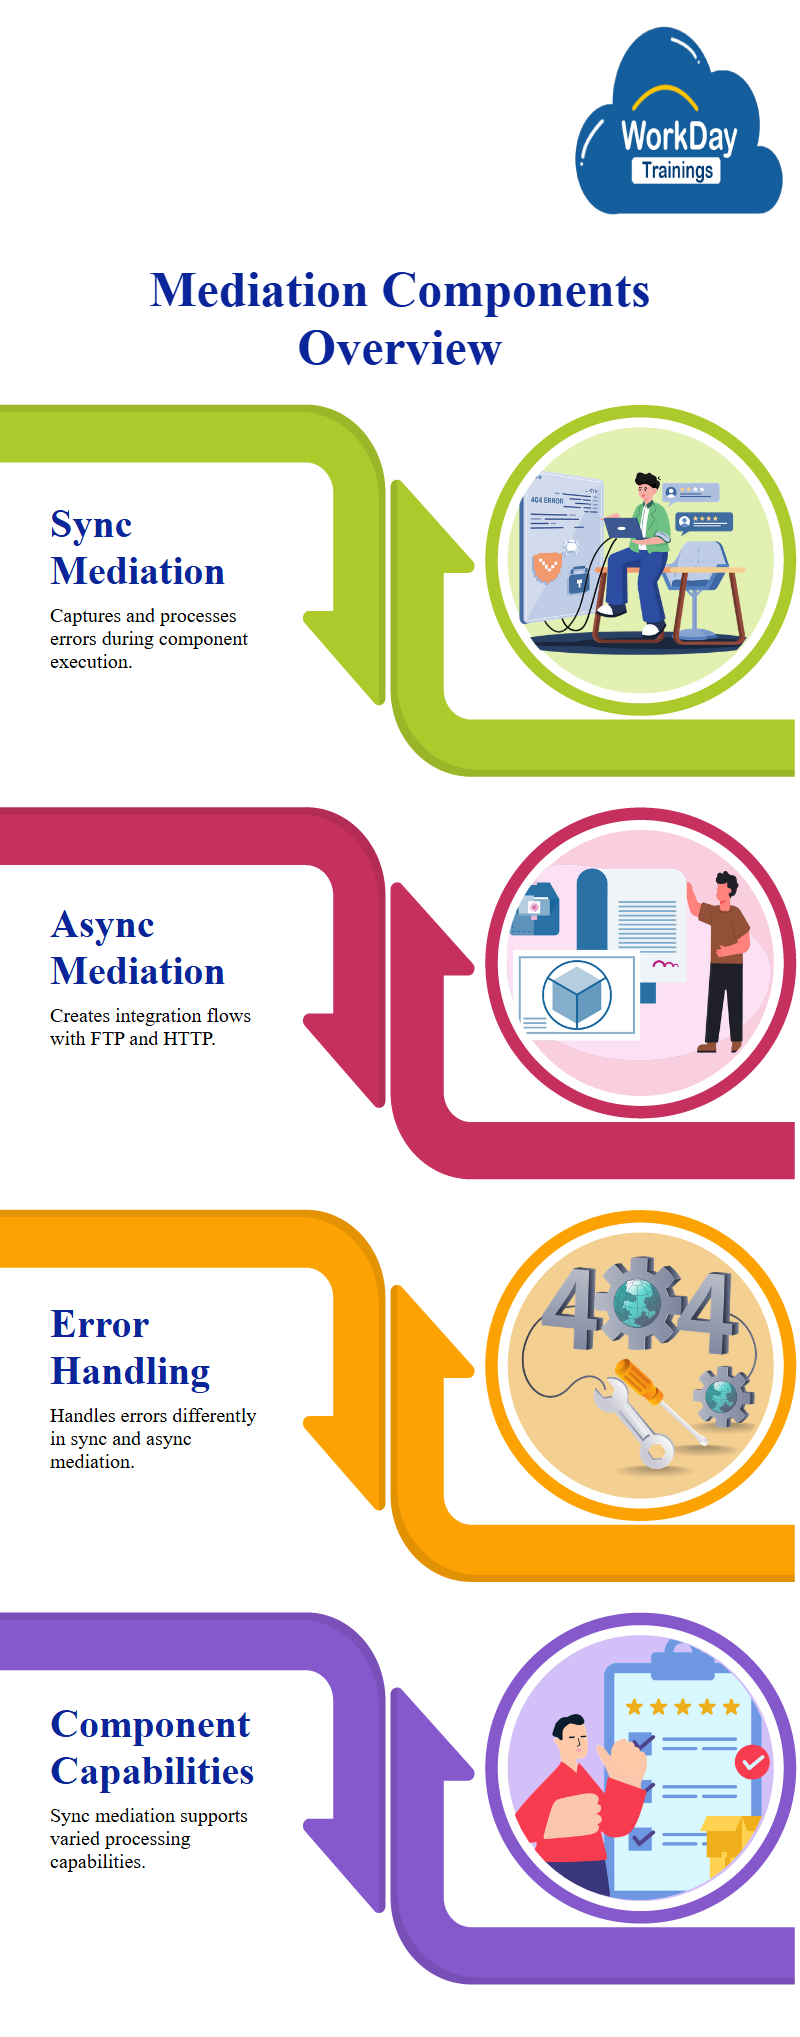
Standard components include sync and async mediation.
Async mediation and sync mediation are two commonly used components.
- Async mediation involves connecting components like FTP and HTTP to create a flow of integration. In sync mediation, errors are captured and processed.
- In Async mediation, the message flows from start to end, with the output being a message. If an error occurs, it flows backwards from the component that executed the mistake.
- In sync mediation, if a component makes an error, it stops processing and returns to the component that made the mistake. This is done by removing the element from the screen. Sync mediation allows processing in the same components but with different capabilities.
Application Studio’s logs:
Logs track the message flow through a system. It starts with the message builder and then moves to other components.
The message then flows back to the integration message, which is executed. If the message is the last component, it will flow backwards.
If you want to process anything after the integration message, connect another async and execute it in a single line.
Both async and sync mediations have the same purpose but different parts.
Logs in the system are not just components that print the message content from the previous components.
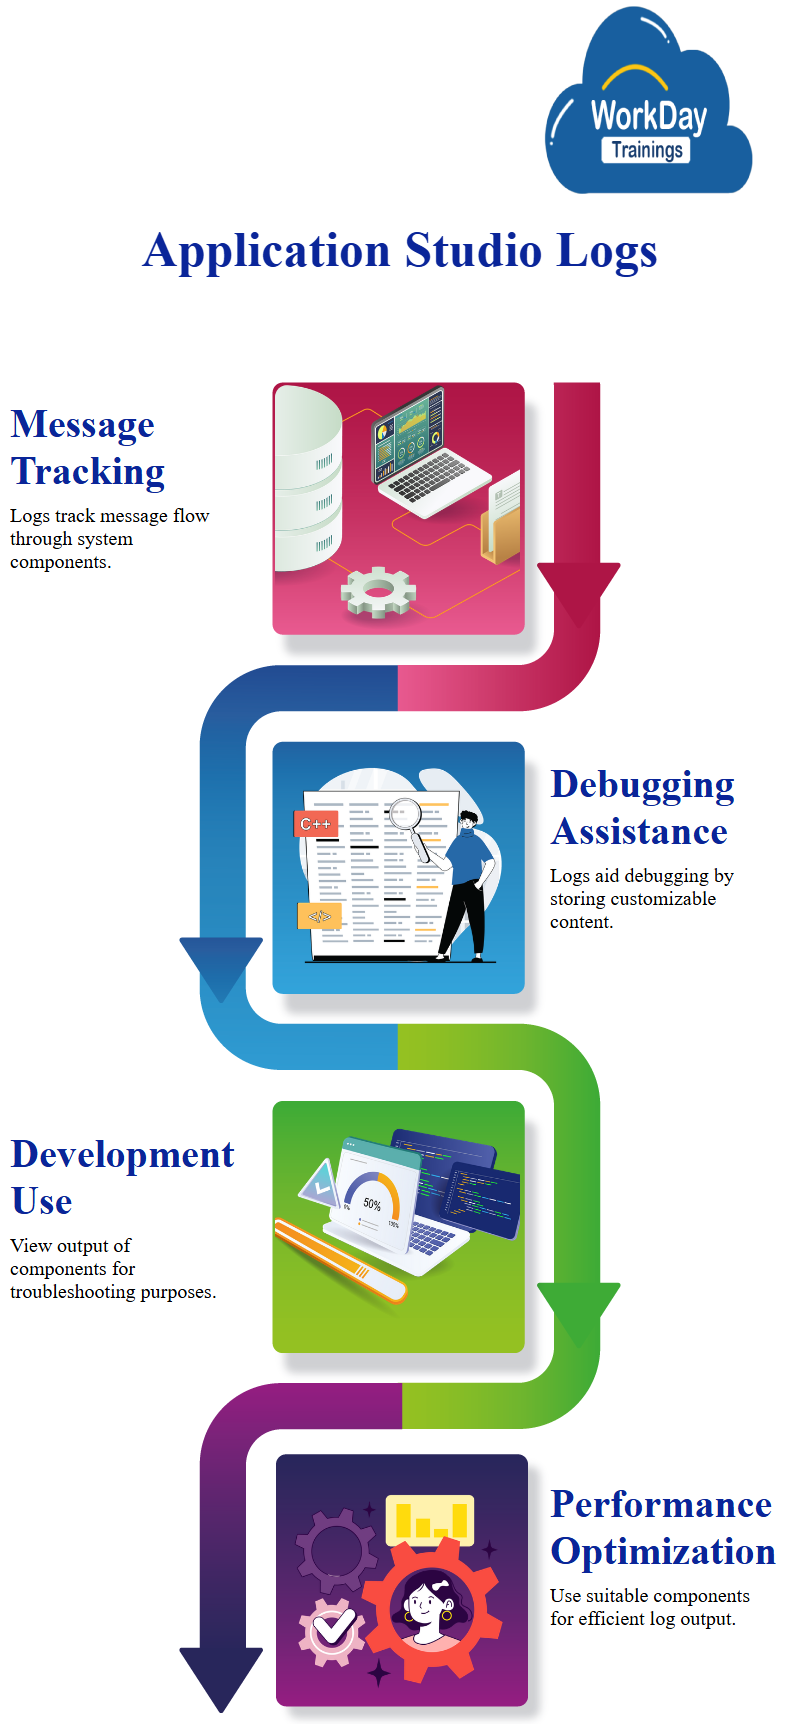
They are your trusted companions for debugging, containing the message content that can be customised with text, exception lines, separators, paths, and XSLT.
These logs are essential for logging important data and are not recommended for fast performance, but they are your go-to tool for ensuring the smooth operation of your application.
Logs play a crucial role in Application Studio. However, they are not recommended for use in Studio for development purposes, as they only print in the log file, making it larger and not recommended for performance.
Instead, for development purposes, logs can be used to view the output of previous components and variable values, aiding in troubleshooting and debugging.
To use logs, create a message content and move it up and down in the text. Add a line separator and save the log.
When deploying an integration, launch it from the front end or the start. The log file contains the integration’s primary name and the username that started it.
The suitable component writes into the message, storing whatever is done in the appropriate component.
To ensure proper performance, use the suitable component and log output correctly. This will retrieve files, call reports, or call a web service.

Converting CSV to XML in Application Studio
The concept of message flow in a system focuses on the copy step and the output of a component. The message flows from one element to another and changes if there is any processing.
The production of the right step is variable, meaning the original message will remain unchanged. Then, it moves on to the CSV to XML component, which converts a CSV message into XML.
Understanding how to convert a CSV message into XML is essential, as it is a comma-separated file.
HashMap in Workday Studio:
The concept of a HashMap in Workday Studio is used to find the reference ID for a specific organisation or cost centre.
The idea involves creating a report with the cost centre name as one column and references ideas as another. This report will give the corresponding ideas for each cost centre.
A Hash Map in the Workday Studio Application is a tool for creating reports, fetching data, and storing it in memory.

It involves declaring, populating, and calling the HashMap with the same syntax as populating it. The output is the entire content, including all tags. The key and value are then passed to the report.
Using a HashMap in Workday Studio Report involves declaring, populating, and calling it. The first step consists of storing the call centre name (CC) in a prop variable and passing the corresponding value to the HashMap.
The splitter process involves splitting the input file into CSV and XML, copying the message to a file saved in the splitter, and sending the output as a file with another async called HashMap.
Using a HashMap to evaluate database properties involves providing the data entry’s name and ID, populating the HashMap with specified values, connecting the HashMap to the input file, and printing the corresponding ID in the variable cost centre and the cost centre reference ID.
Studio Report Using Workday Outrest:
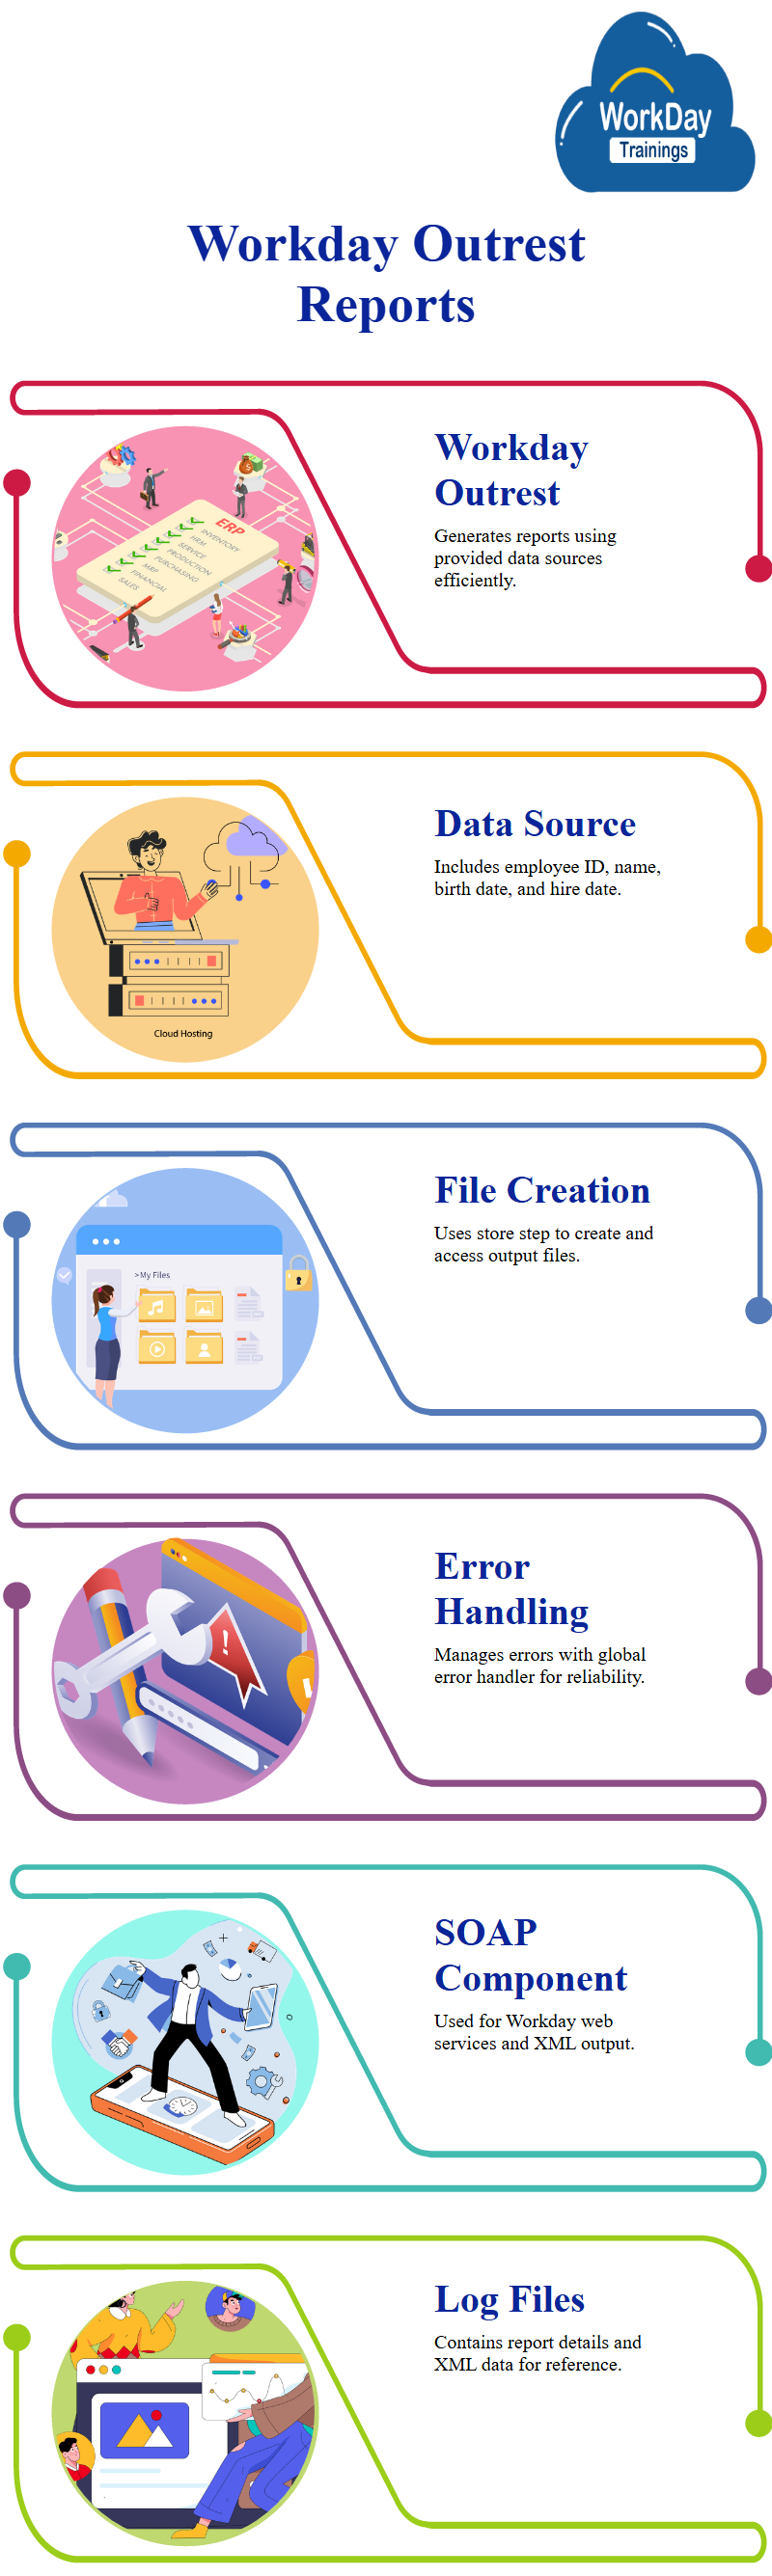
Creating a report in a studio using a specific component. The component is called “Workday Outrest”, a report service that automatically comes up.
The report is made using the provided data source, which includes employee ID, legal name, date of birth, and higher date.
Once the report is created using the provided data source, it’s a cinch to save and share.
Call the report using the provided report alias, connect it to the report service, and delete any launch parameters.
This ensures that only the message content is displayed, making it easy to manage and share the report.
It explains creating a report and generating an output file using various components.
- The first component, the store step, creates a file and puts it on the integration event. The output file is then printed to the user. The input is the message, and the output is the XML output. The output file can be named and accessed using the store step.
- The second component, the Workday Outrest component, is reliable for calling a workday report. It handles error handling seamlessly, sending errors to the global error handler.
This ensures that issues are promptly addressed and the user can confidently proceed.
The Workday out SOAP component is used when using Workday-delivered web services. The output file is named report output dot XML. The log file contains the content of the file log output, which is all XML. The output file is then called the report.
Error Handling in Workday Studio
Error handling in a system involves creating a new integration, converting a CSV file to XML, and handling downstream errors. The process includes sending errors, handling downstream errors, and using an async.
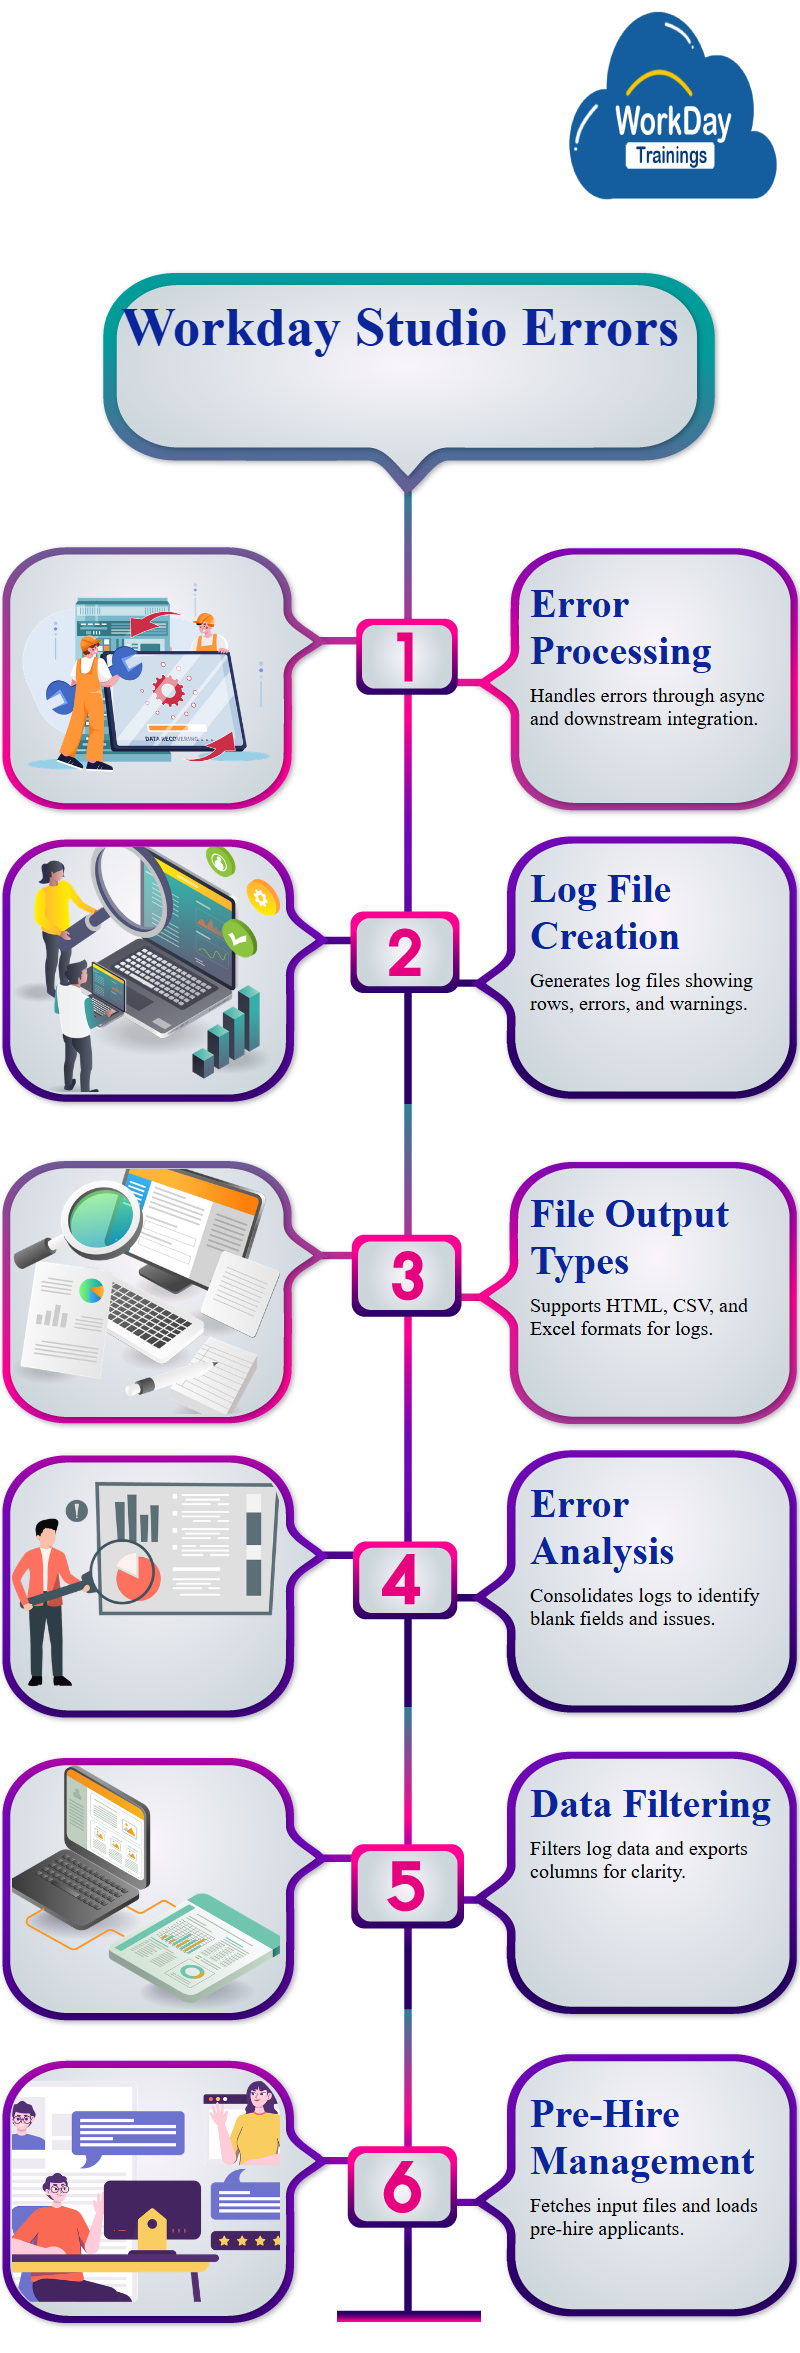
The user fetches the input file and loads five applicants as a pre-hire. If the integration fails, the user requests a final log file to show the number of processed rows, completed rows, errors, and warnings.
Workday Studio offers flexibility in generating log files for various events, such as creating an async function and a Cloud Log component.
The output file type can be HTML, CSV, or Excel. The error message’s level determines its level, and the details are displayed in the log file for each row.
Error handling involves creating a log file and analysing it for errors. The first error is related to a blank employee ID and name, and the log file is consolidated and tested for errors.
The log file includes extra columns for employee ID, cost centre location, and other relevant information. The information is filtered based on the error and can be exported to CSV directly

Srivalli
Even though I know a Lot of Technologies, I’d Still prefer to Explore every new and Advancing Automation.

