Hope, you had a great knowledge by going through the introduction part, now let’s discuss about come practical things for which looks more interesting.
Hardware Requirements:
Workday Studio has the following hardware requirements:
1 GB of disk space (Approximately) for full Studio installation.
A minimum of 1 GB of RAM is required to run the Studio.
A display resolution of at least 1280 x 1024, but higher is recommended.
Software Requirements:
Oracle JDK 1.6.0_26 or later: Before installing and using Studio, you need Java 2 Platform.
Standard Edition (J2SE) version 1.6.0_26 or later.
Browse to the download page for this JDK
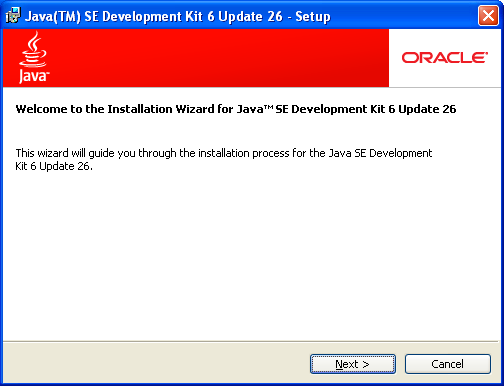
Launch JDK and Click on Next,
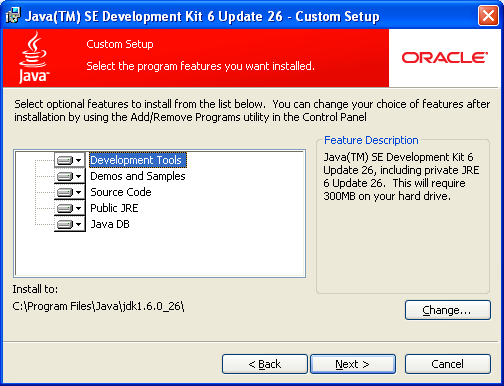
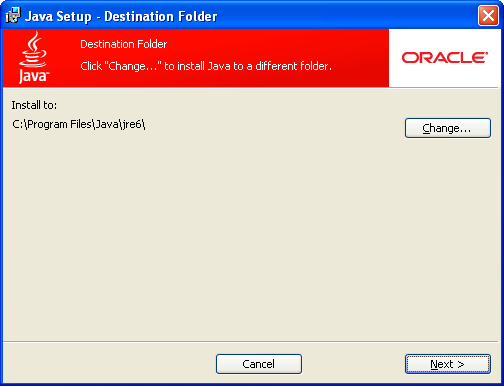
Specify JDK location to install by Clicking on Change Button.
And Click Next>.
JAVA – SETUP: Click Next.
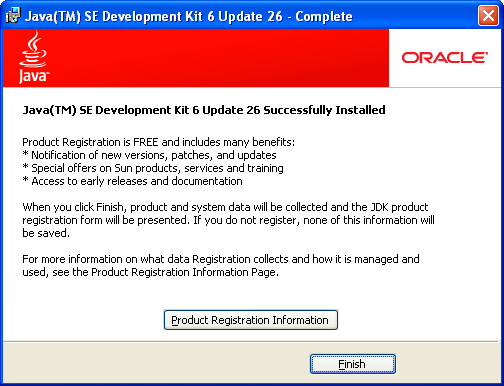
Click Finish button on successfully installed.
Downloading and Running the Installer:
You can download Studio from the Workday Developer Network (WDN) on the Workday Community .
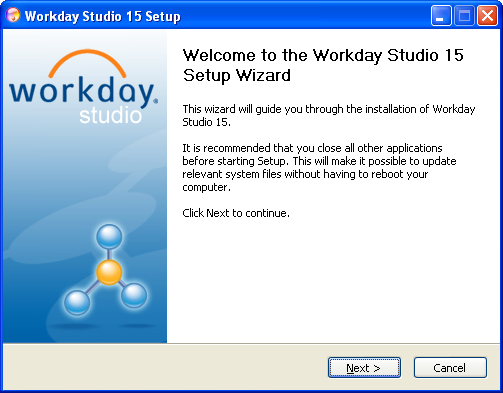
Now, Double-click the Studio installation file to launch the installation.
Then, Click on Next > to continue.
WORKDAY STUDIO SETUP:
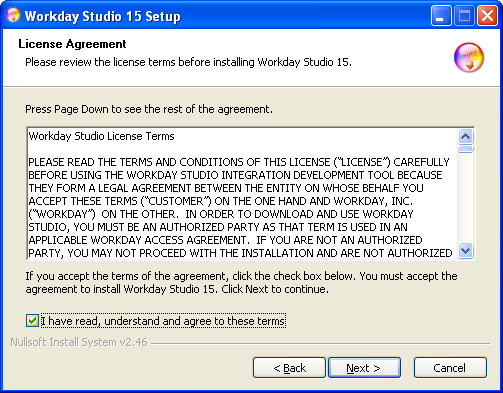
Read the license agreement and select the check box to accept the terms of the license agreement.
Then click Next > Button.
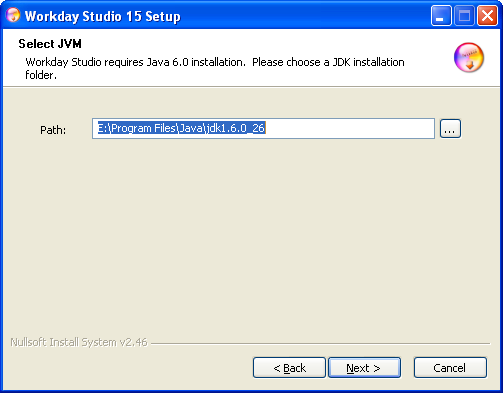
Enter a path or browse to the location of the required Java Development Kit (JDK) installation (see “Software Requirements”). The JDK includes the Java Virtual Machine (JVM) as well.
Click on Next > Button.
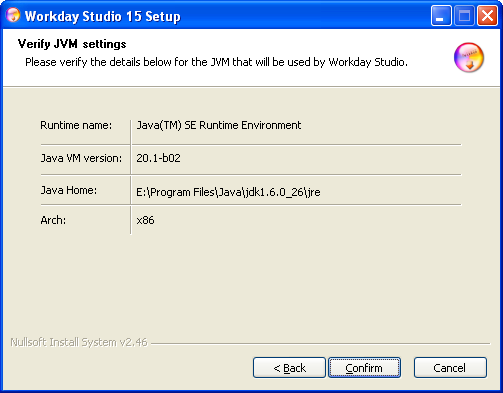
If the JVM details are correct, then select Confirm; otherwise, click on Back to edit the location and version of the JDK settings.
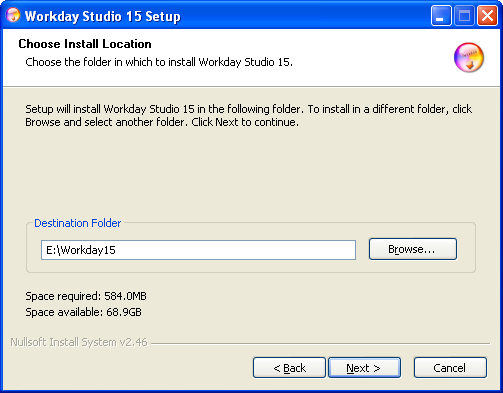
Enter a path or browse to the directory where you wish to install Studio.
Now, click on “Next”.
Enter a path or browse to the directory where you wish to install Studio.
Customize the Start menu folder as required, or leave as default. Then Click on Install.
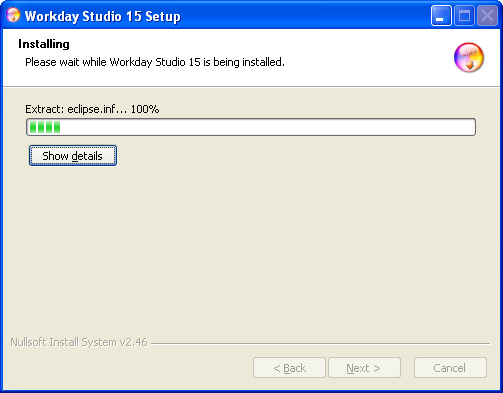
The installer copies the Studio files to the destination folder.
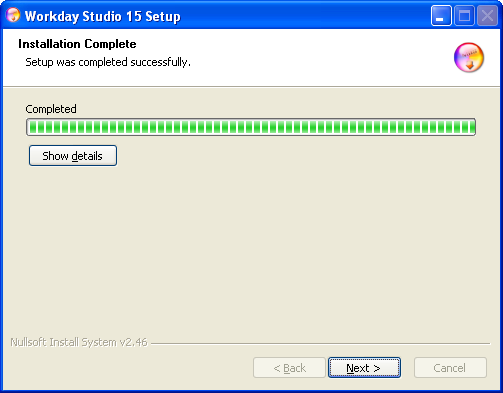
When the Installation completes, a message is displayed, then click on Next.
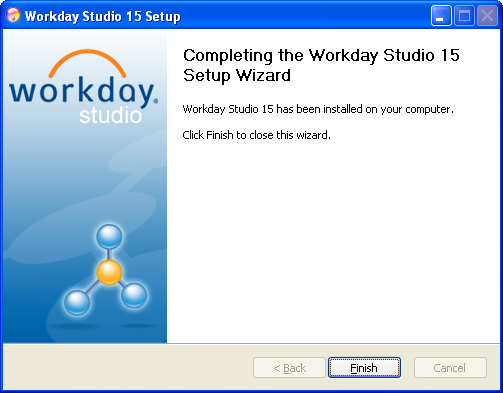
Click on Finish to complete the installation.
WORKDAY STUDIO – Launch
Double click the Workday Icon to launch studio 15.
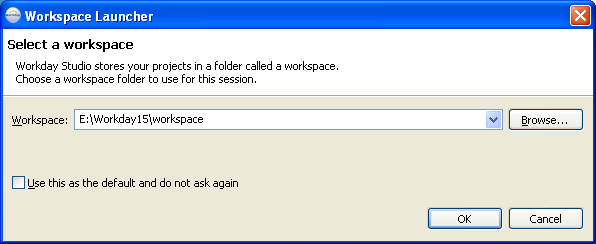
Specify the location of the workspace.
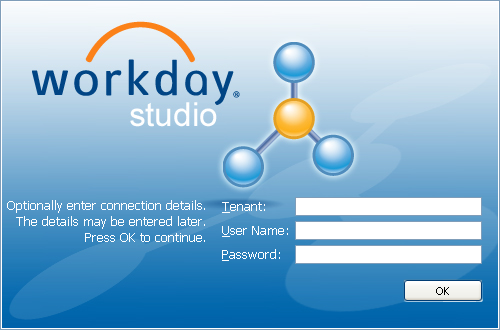
Provide the Tenant, User Name and Password on availability and Click OK.
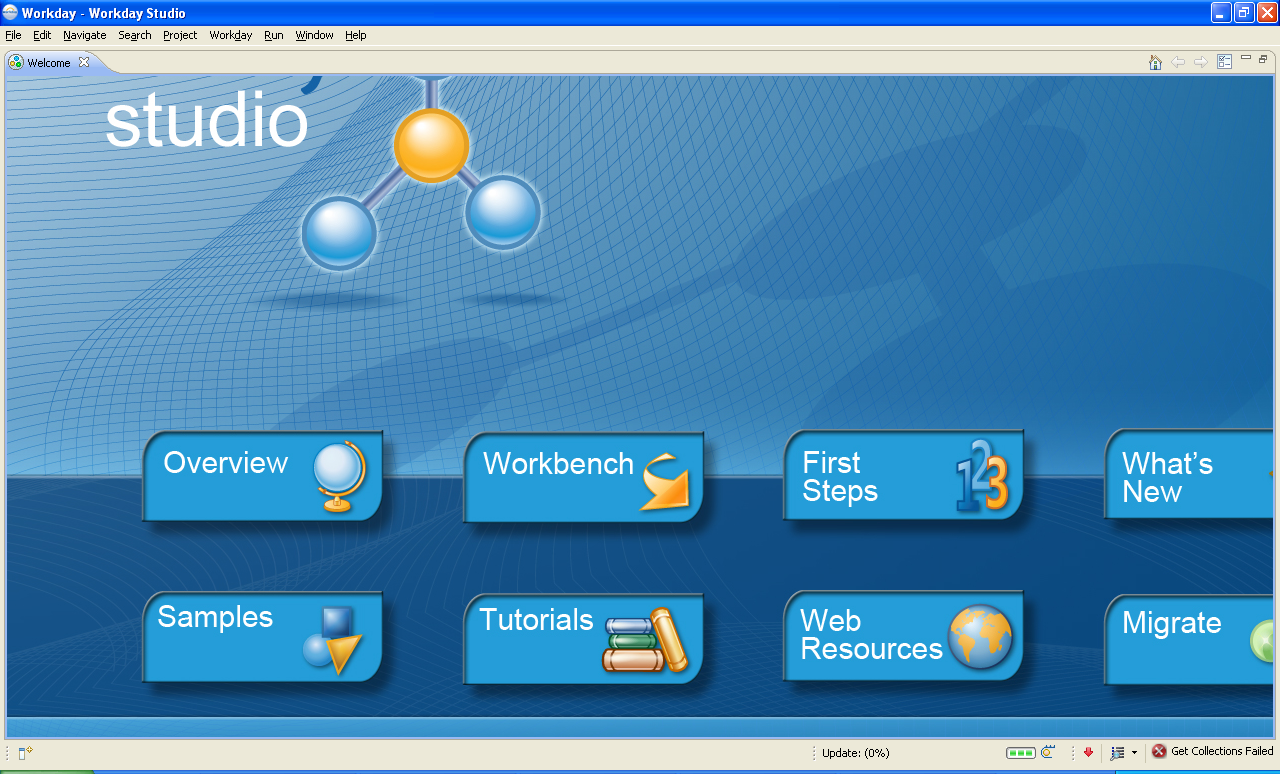
The Welcome page of Workday Studio 15 will be displayed as below.